
Penyanyi : How To Take Better Pictures For Your Blog - Tips & Tricks
Judul lagu : How To Take Better Pictures For Your Blog - Tips & Tricks
How To Take Better Pictures For Your Blog - Tips & Tricks
I have had some really gracious comments lately about my pictures on my blog and how nice they look. I love hearing that kind of comment since I am such a novice at taking pictures.I am not at home right now, (I am babysitting two grandsons for a couple of days), so I thought this was the perfect time to do a repost that I did last year regarding pictures, light and editing.
Boy is there a lot to learn. We all look at all those fabulous magazine pictures and wonder - -
how do they get them so perfect?
Now all of us don't have a fabulous camera. Some of us just have a
POINT & SHOOT

Mine is a Kodak Easyshare V 1073 10 MP digital Camera with 3x Optical Image Stabilized Zoom
I bought this camera several years ago and I love it.
Super easy to use, no frills and it really takes a pretty good picture.
Since a lot of you have a point and shoot camera too, I thought I would share a few tips I am learning on how to take better pictures -
even some that look good enough for a magazine.
1. Lighting is Majorly Important. GOOD DAYLIGHT AND NO FLASH
Look at this picture with just the outside light shining in - no chandy light. This is how this area really looks in person.


Early morning with the lights on in the room - -

The glare is greatly diminished and you can see the items and the colors.

Every room has light coming in at the most perfect time to light up the room and show it off to it's best advantage.
Take your pictures during that time of day.
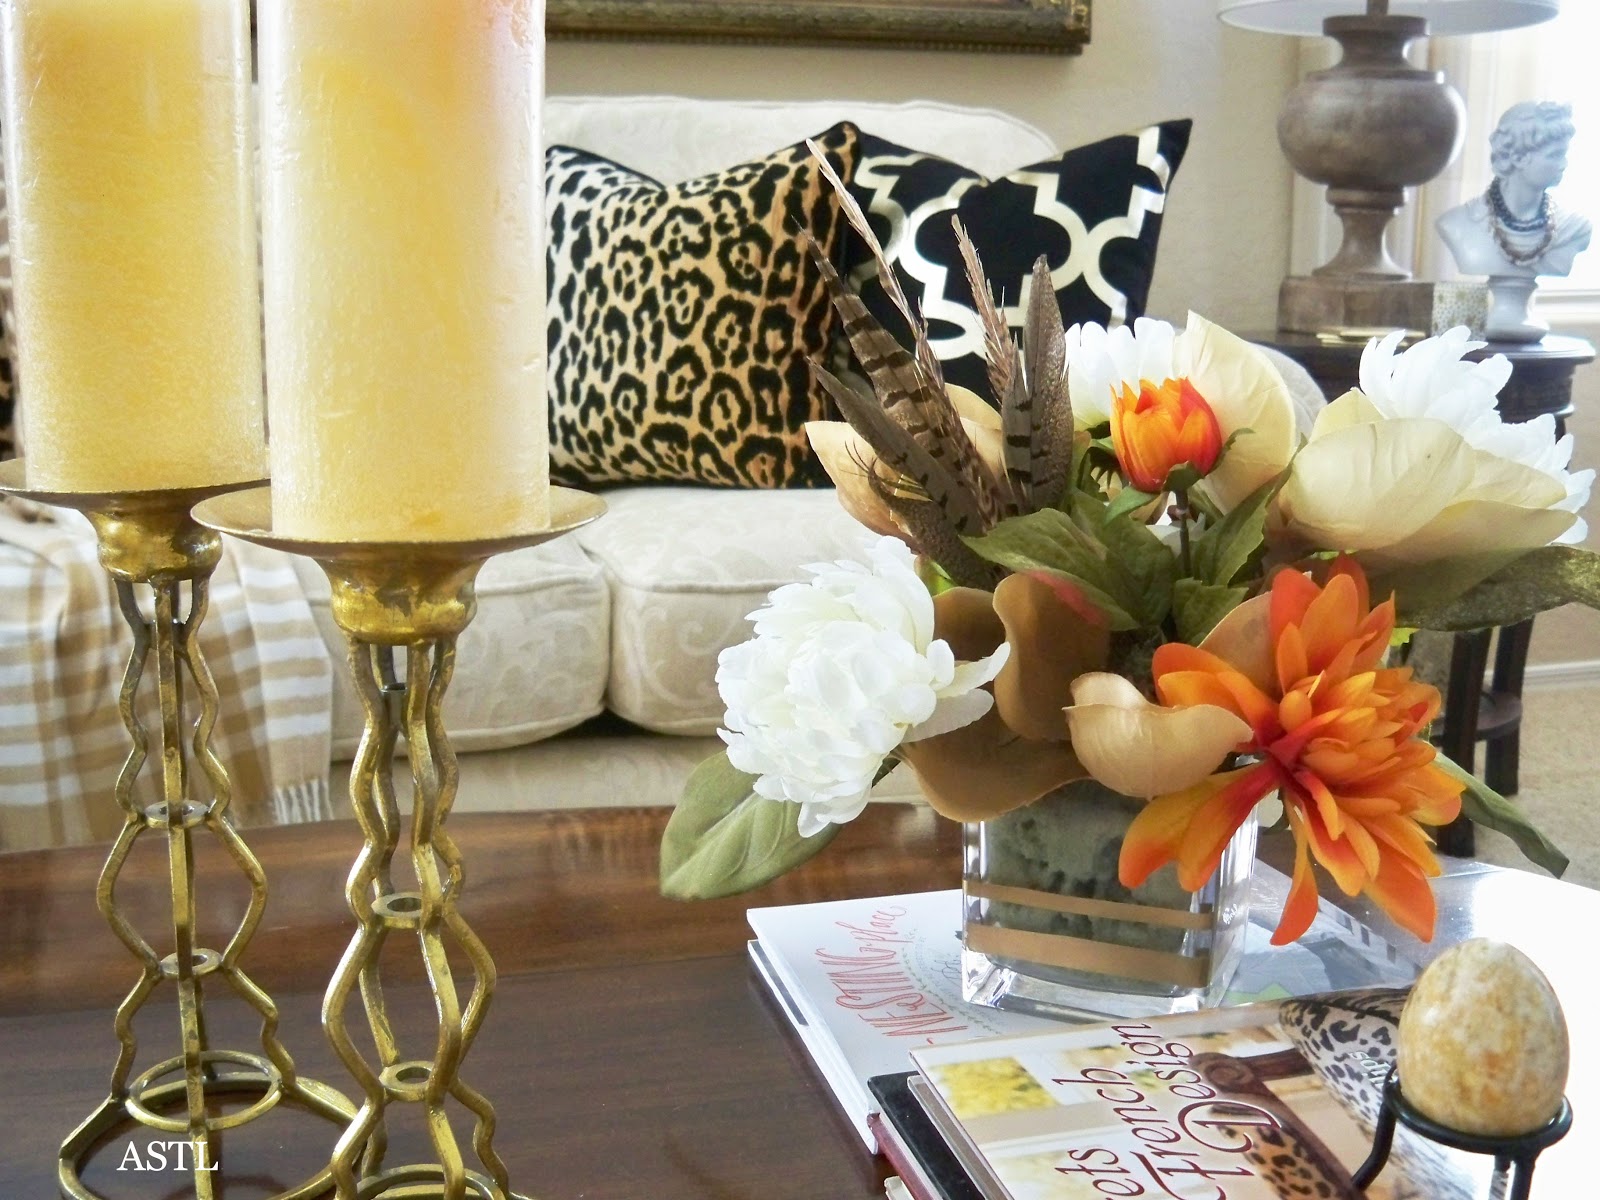
2. STYLING YOUR SHOTS can make all the difference.
Show off your things or space to their best advantage.
I wanted to show how I changed this room with the different pillows and throw in this picture.
Pretty, but boring - -

think outside the box and try some creative shots.
This still shows the pillows and throw.
and it is so much more interesting.

Try cropping a shot to showcase a small section of the picture.
This is one small part of the picture above - -
Same thing with this picture.
This doesn't show off the desk accessories and looks like a lot of glare.

Crop the bottom of the picture- -
and now you can see the accessories so much better.

4. EDITING - There are some free programs out there that are fabulous for editing your pictures.
Pic Monkey and Ribbet are just two.
I do have PhotoShop. Now I barely know how to use it, but I can make a picture brighter and add more contrast. I know there is a ton you can do with it, but I havn't learned yet.
The free programs are really easy and will make a huge difference in your pictures, so find one you like and learn how to use it.
This is how this picture looks unedited - -

Huge Difference.

5. PICTURE SIZE - If you look at the "magazine" shots on your favorite blogs, you will notice that the pictures are large and you can see all the detail really well.
In the editing programs you can resize your pictures, so make sure they are BIG.
This is hard to see any detail at all ---

and even better with it brightened up a little -


I know you can take some really dramatic shots with some of the fancier cameras, but if you try a few different things, you can take a respectable picture with your Point & Shoot.
Don't forget to enter my giveaway here.
You can still link up to Inspire Me Tuesday - We want to see everything.
If you like Thrifty & Chic on a budget like me, I would love to have you follow me on any of the following.

See behind the scenes on Instagram


Demikianlah Artikel How To Take Better Pictures For Your Blog - Tips & Tricks
Sekian Kunci gitar How To Take Better Pictures For Your Blog - Tips & Tricks, mudah-mudahan bisa memberi manfaat untuk anda semua. baiklah, sekian postingan Chord gitar lagu kali ini.
0 Response to "How To Take Better Pictures For Your Blog - Tips & Tricks"
Post a Comment